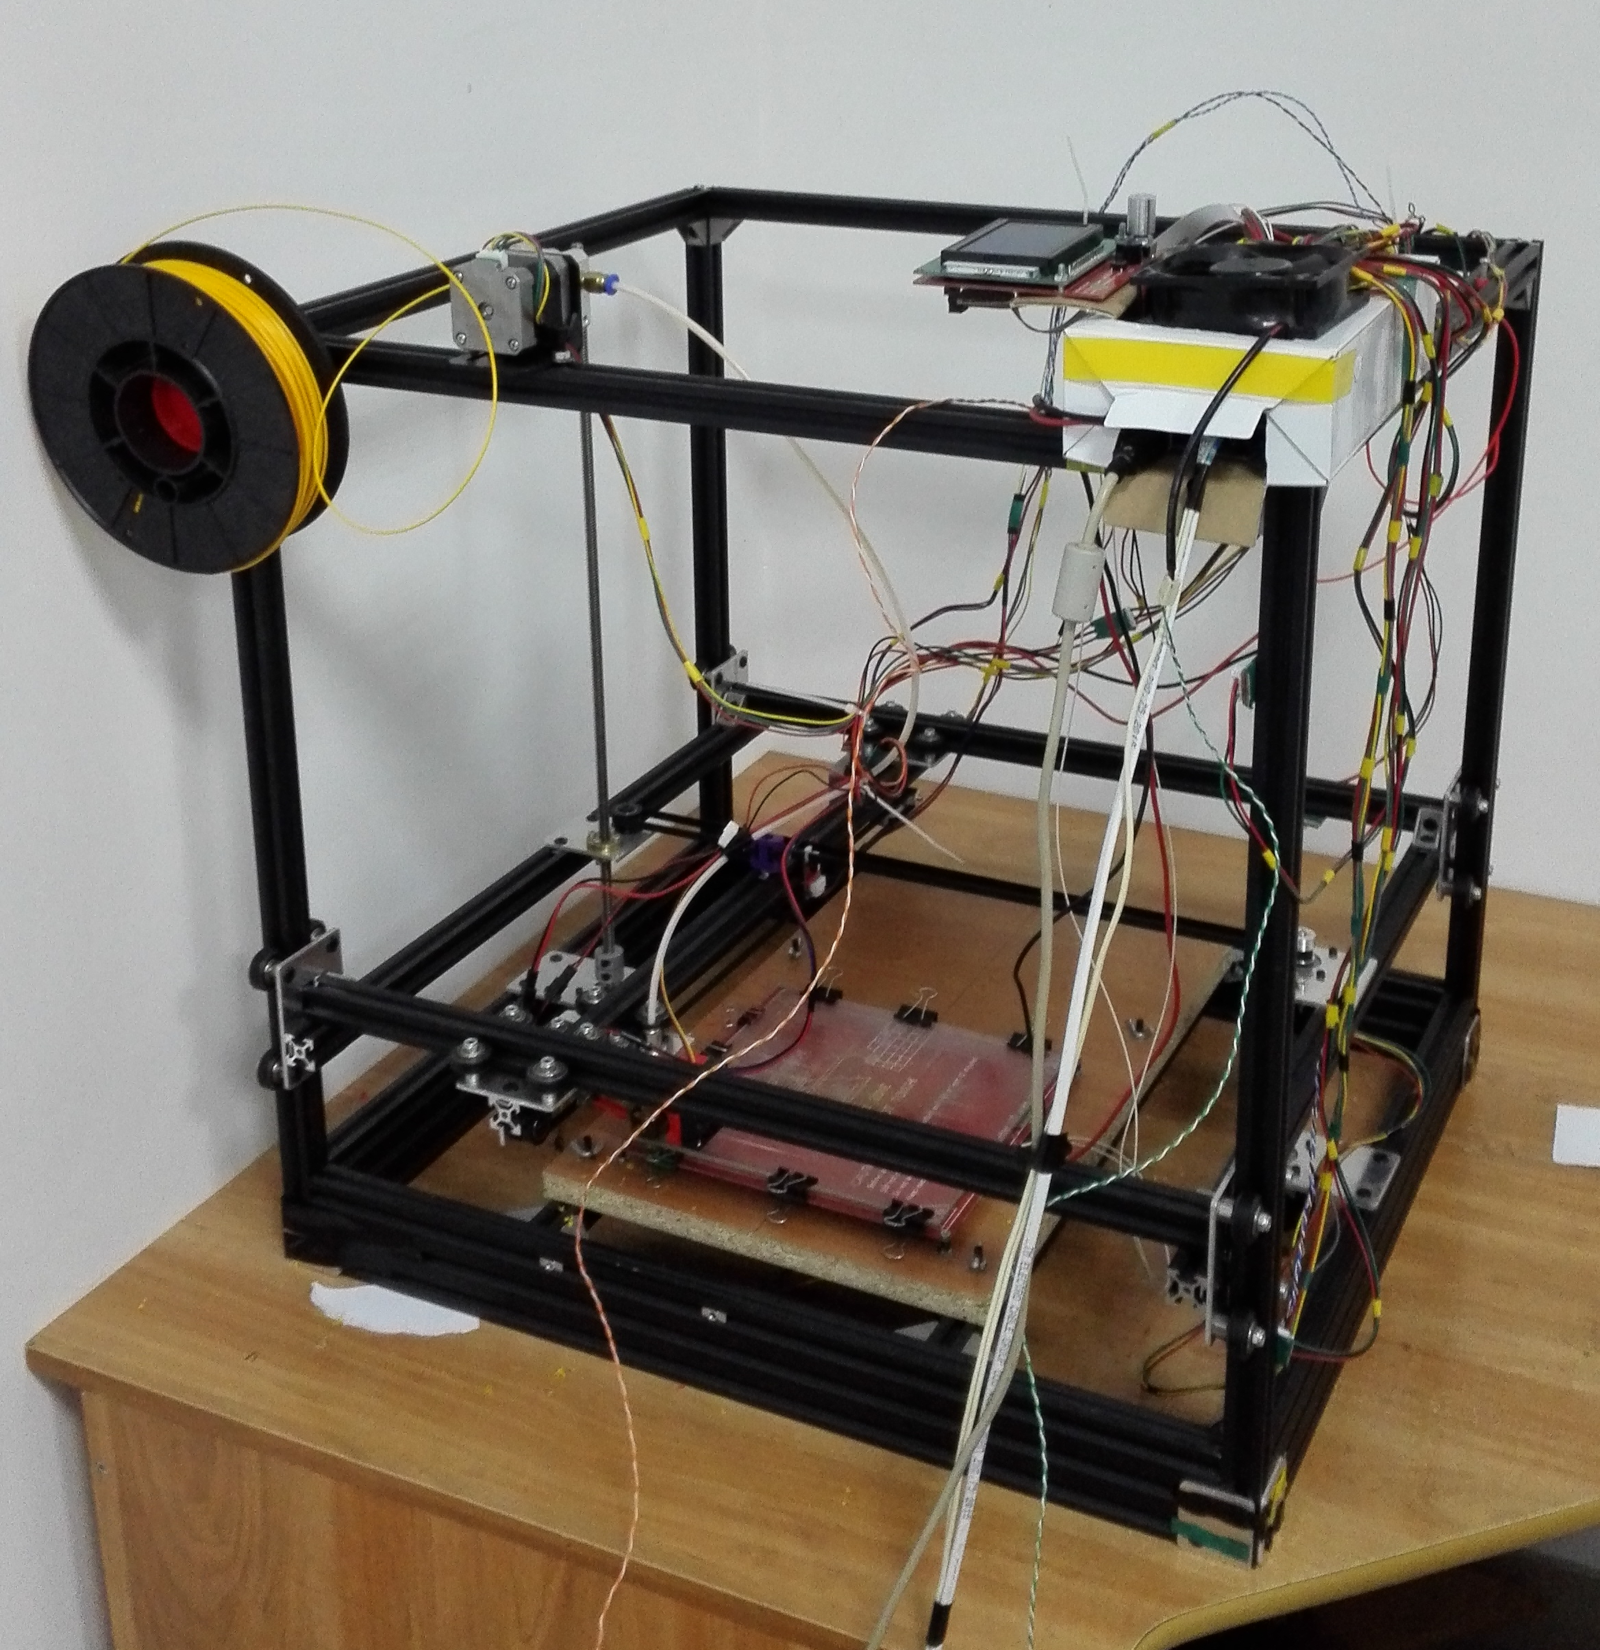
3D printer assembly
I’ve assembled this cable monster 3D printer from a KIT. I am a bit shy to show it in this condition, to be honest. There still left a lot of space for improvements like the naughty cables dangling around or a full-sized heating bed. Or at least I could have taken a video of a better quality. But the main thing the beast is alive, moves, extrudes plastic, prints with an ok quality and makes people smile. I’ve run out of time that I could afford for the project and I have to show it as it is.

The whole process took a while, much longer than I expected and it deserves for a separate story which I might cover in this blog some day. For now, I’ll just tell you that the 3D printer was ordered from Kickstarter and this is the exact thing that makes it special. When I opened the box I found that many parts were missing or their quality was really bad, so I understood that there is a bunch of tricky engineering problems waiting for me ahead.
Here are some of them. The 28 V-wheels that make the gantry and the extruder slide on the carcass were totally missed. Couplings for motors and spiral rods were not flexible enough to allow any vertical movement for the gantry. The printer was made from Chinese clones of OpenBuilds parts so it was easy to find replacements on the OpenBuilds store. Holes in the aluminium mounting plates for the stepper motors were too narrow, so I drilled the bigger ones in the nearest metal workshop. After the assembly of all the mechanical parts, I had to replace the motor drivers as the Chinese ones were skipping steps quite often. The “kind of instruction” was describing the mechanical assembly only, so whole electrical, electronics and software aspects I had to figure out on my own.
After the Marlin software configuration and fine-tuning, the 3D printer managed to print some upgrades for himself. Cooling fan attachment, X-axis belt’s attachment and spool holder were among those. You can see them in action them on the video above. The printer also has brought to this world some 3D sculptures and prototyping parts for robotics, like the half of the ProtoTank platform below.
For me it was a guide to the world of additive manufacturing. Despite the challanges, I am glad that I decided to build it. I’ve learned a lot from this project and the most important - so did other people who have met each other only because of the common interests around this thing. This project also has helped to boost the local hackerspace development which in turn let dozens of kids to see, touch and get inspired by this unusual tool and other making-related events. Which makes happy me and the people who have helped to finish this project.